Managing Inventory
Introduction
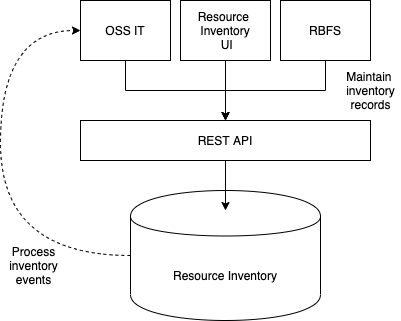
The resource inventory stores information about the elements installed in the network. The resource inventory provides a REST API to maintain the resource inventory records. In addition, the resource inventory contributes views to the RBMS UI. The resource inventory UI only uses the REST API to maintain the resource inventory records. Typcially three consumers of the resource REST API exists as illustrated below:
-
RBFS uses the resource inventory API to register itself in RBMS. RBFS reports the running services, physical interfaces, discovered neighbors, logical interfaces, hardware module information, information about the installed software image and the current configuration, including configuration changes, to RBMS.
-
The RBMS UI uses the resource inventory API to enable an operator to view and manage resource inventory records.
-
The OSS IT, or any other customer IT system can use the REST API to manage resource inventory records. It is also feasible to subscribe for events to get notified when a resource inventory record changes.
Data model
The resource inventory data is also the basis for the network management applications provided by RBMS. The data model is generalized allowing you to define additional roles to store custom elements, for example,to simplify automation of network management operations by storing the required data in the same database.
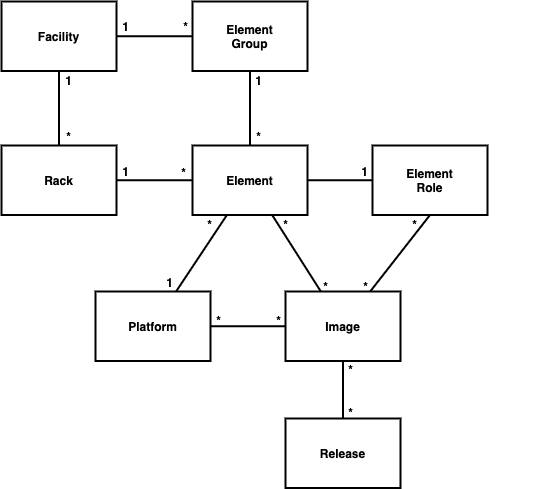
The main entities of the resource inventory and their relationships are shown below:
Element, element role and platform
The element forms the cornerstone of the resource inventory. Every element has a certain role, like a spine or a leaf switch of a fabric for example. The element role describes the function of an element in the network.
The resource inventory stores the following information per element:
-
General settings including the element role, element name, an optional element alias, the operational and administrative state, the serial number, the hardware platform, an optional asset ID and management interfaces like SSH or REST API access.
-
List of physical interfaces and their operational state
-
List of logical interfaces and their operational state
-
Information about the installed software image
-
Installed services including their current state
-
Element hardware modules
-
Element configurations including a configuration history
-
Environments containing custom data used to generate the element configuration.
The platform provides information about the hardware platform vendor, model and chipset. This information is needed to discover the software images that can be installed on this element.
The element has one of the following administrative states:
| Administrative State | Description |
|---|---|
NEW |
A new element that has not yet been installed or enabled in the network. |
ACTIVE |
An element that has been installed in the network and is supposed to be up and running. |
RETIRED |
An element that is about to being removed from the network. |
The following operational states exist:
| Operational State | Description |
|---|---|
DOWN |
The element is down. |
UP |
The element is up. |
DETACHED |
RBMS did not receive heartbeats from the element and declares it as detached from RBMS. |
MAINTENANCE |
The element is currently in maintenance. |
Image
The image provides information about the images being eligible for deployment. RBMS supports prupose-build image that can be installed on certain element roles and platforms only. RBMS includes a image lifecycle management with the following states:
| State | Description |
|---|---|
NEW |
A new image that is not yet eligible for deployment. |
CANDIDATE |
A candidate image to become the next release. The image is eligible for deployment but not installed by default. |
RELEASE |
The image that get installed by default. |
SUPERSEDED |
A former release image that has been replaced by another release image. |
REVOKED |
An image that has been revoked and must not be installed any more. A revoked image retains in the intenvory for the sake of documentation. |
Managing Pods
Filtering Pod list by Pod name
To filter Pod list by Pod name
-
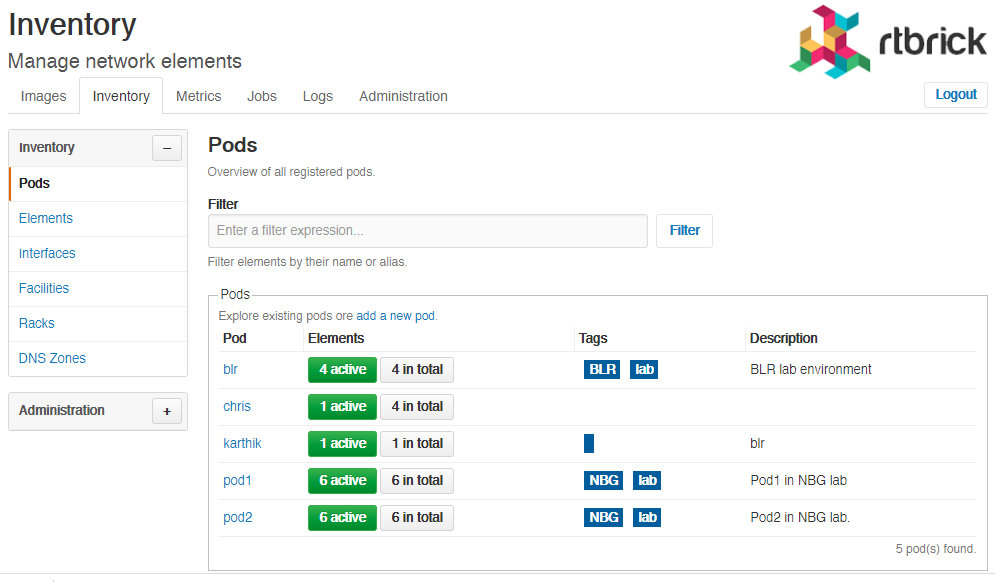
Click the Inventory tab. The Pods page appears by default.
-
In the Filter text box, specify the filter criteria and then click Filter. The Pods that match the filter criteria appear.
Creating Pods
To create a Pod
-
Click the Inventory tab. The list of Pods appears by default.
-
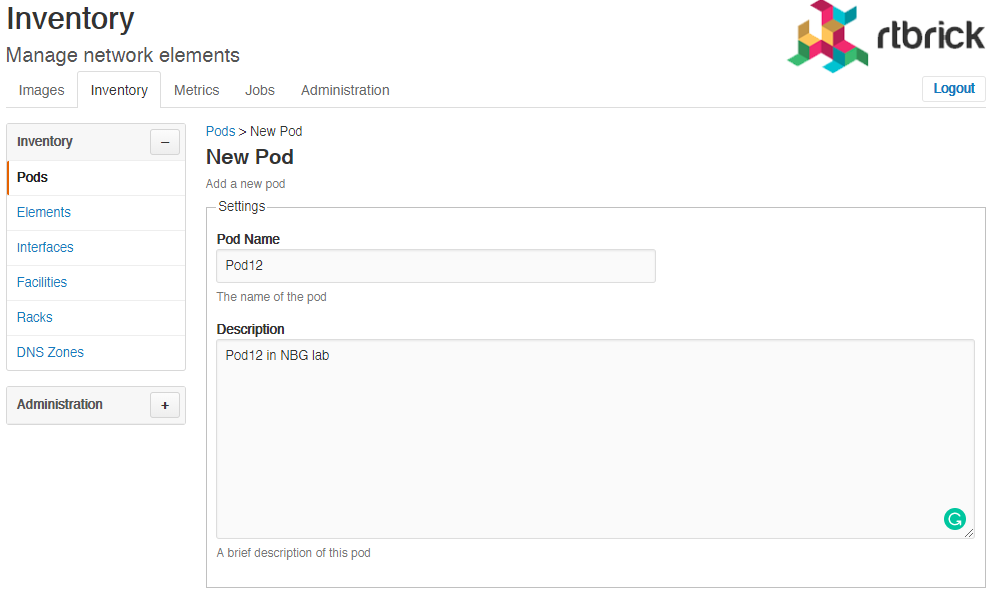
In the Pods page, click the Add pod.
-
In the Pod Name field, specify the name of the Pod.
-
In the Description field, specify a brief description for the Pod.
-
In the Tags field (optional), specify the tags that can be used to categorise the Pod.
-
Click Add Pod.
Modifying Pod settings
To modify the Pod settings
-
Click the Inventory tab. The list of Pods appear by default.
-
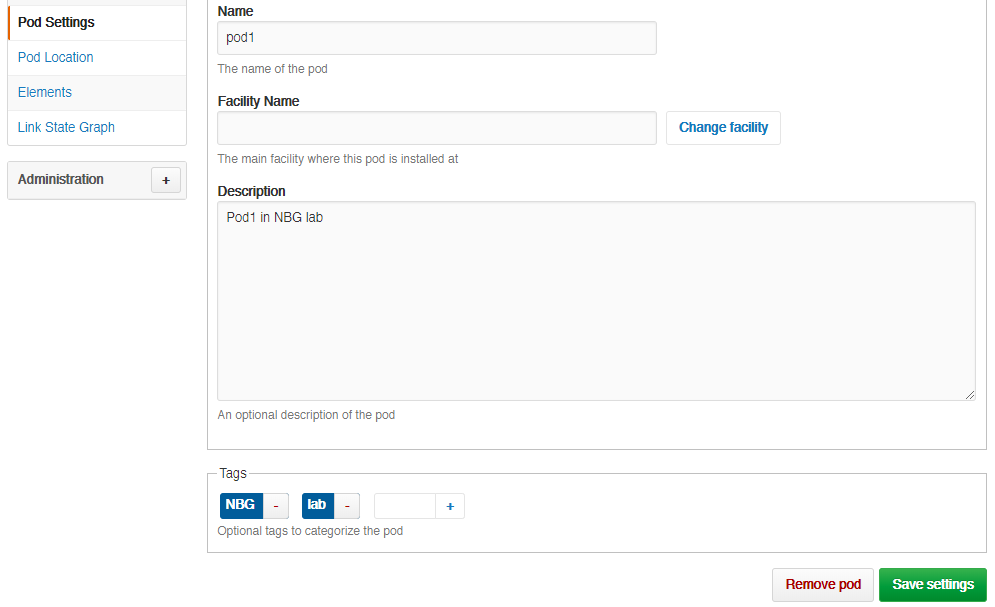
In the Pods group box, click the Pod that you want to modify. The Pod Settings page appears.
-
Make the necessary updates and click Save settings.
Removing Pods
To remove a Pod
-
Click the Inventory tab. The list of Pods appear.
-
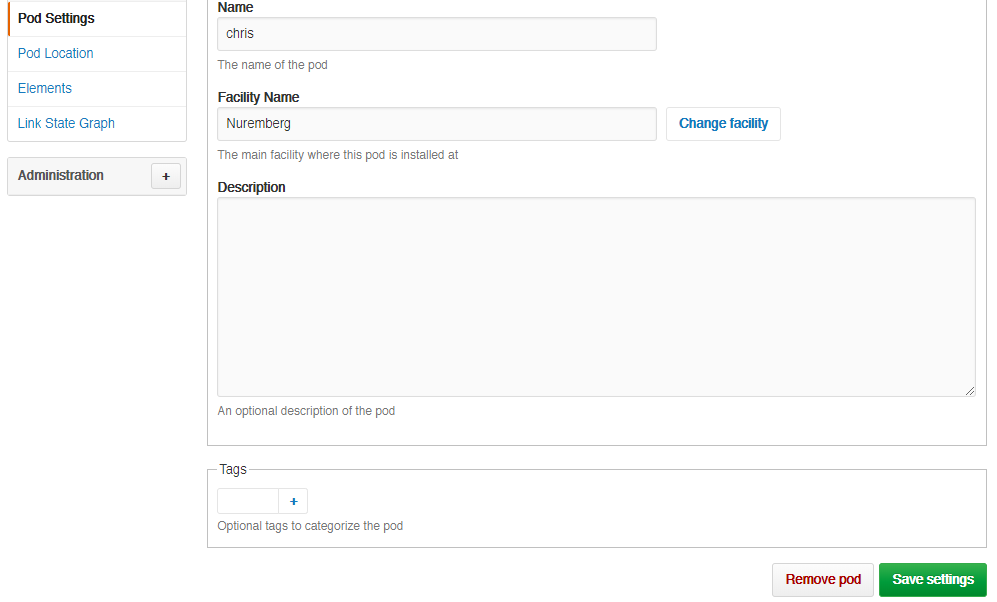
In the Pods group box, click the Pod that you want to remove. The Pod Settings page appears.
Viewing Pod location
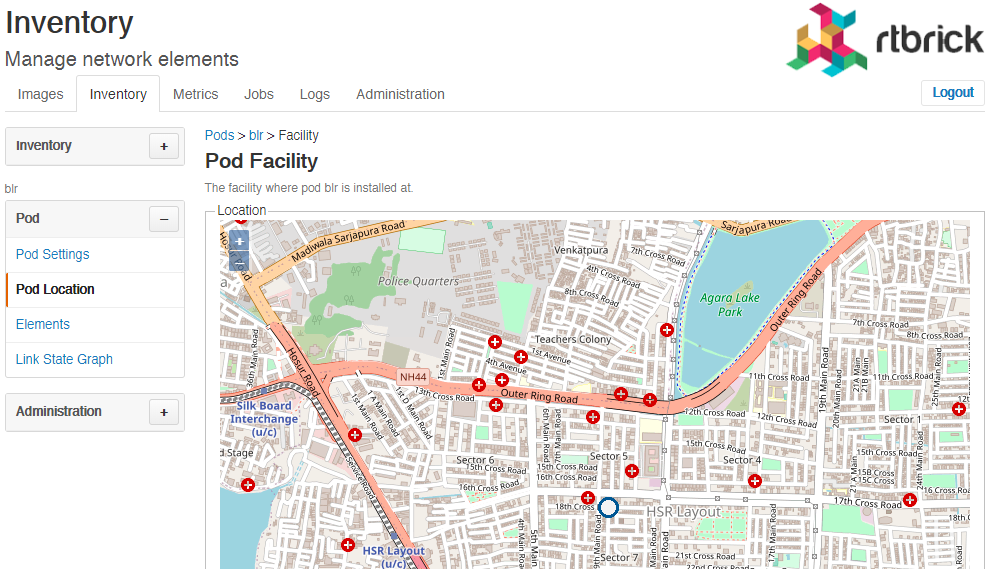
To view the facility where a Pod is installed
-
Click the Inventory tab. The list of Pods appear.
-
In the Pods group box, click the Pod whose facility you want to view.
-
Click Pod location in the left navigation pane. The Pod Facility page appears.
Describing Pod racks
To describe the Pod racks
-
Click the Inventory tab. The list of Pods appear.
-
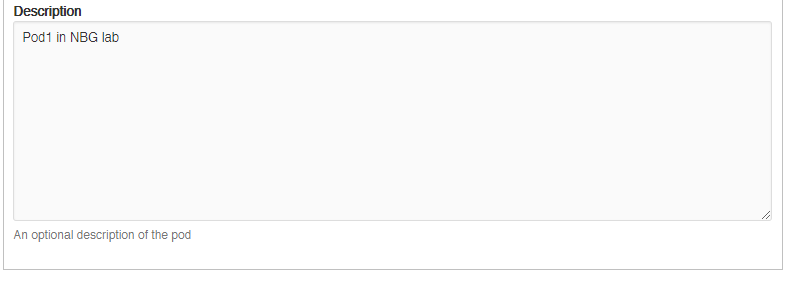
In the Pods group box, click the Pod that you want to modify. The Pod Settings page appears.
-
Specify the description for Pod rack.
Adding element to Pod
To add element to Pod
-
Click the Inventory tab. The list of Pods appear.
-
In the Pods group box, click the Pod that you want to modify. The Pod Settings page appears.
-
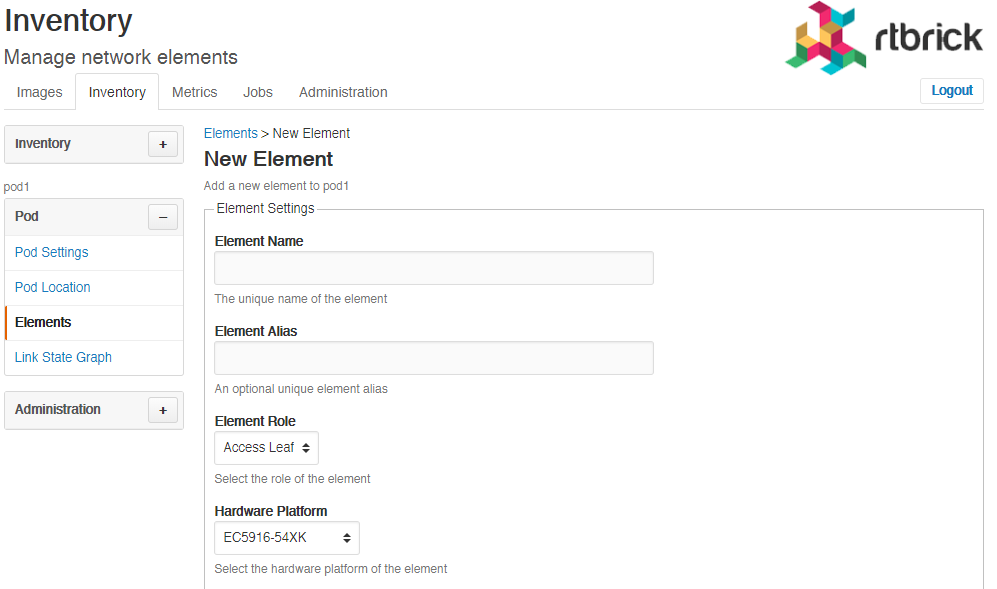
Click Elements from the left navigation pane. The Elements page appears.
-
Click Add element.
Listing elements of a Pod
To view the list of element in Pod
-
Click the Inventory tab. The list of Pods appear.
-
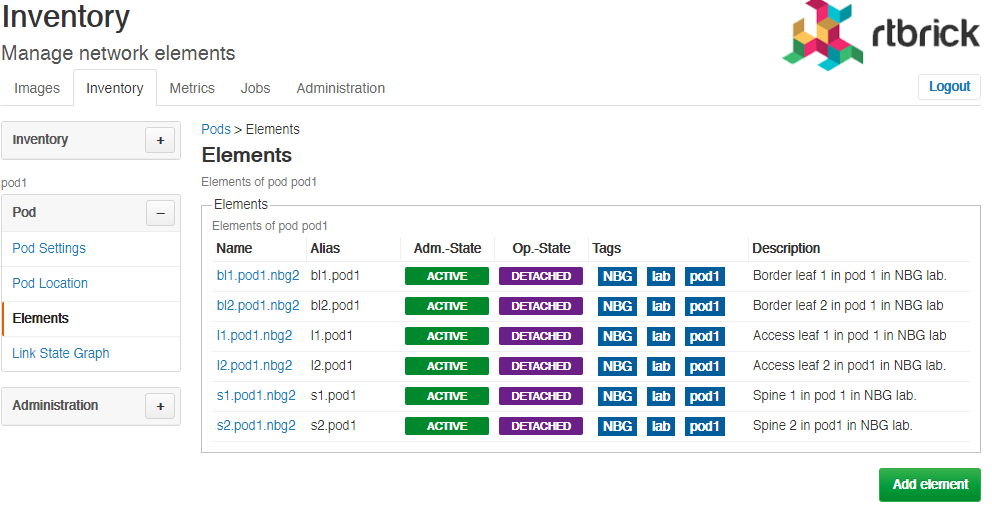
In the Pods group box, click the Pod that you want to modify. The Pod Settings page appears.
-
Click Elements from the left navigation pane. The Elements page appears and the list of elements in the selected Pod appear.
Viewing Link State Graph
To view the link state graph of Pod
-
Click the Inventory tab. The list of Pods appear.
-
In the Pods group box, click the Pod that you want to view. The Pod Settings page appears.
-
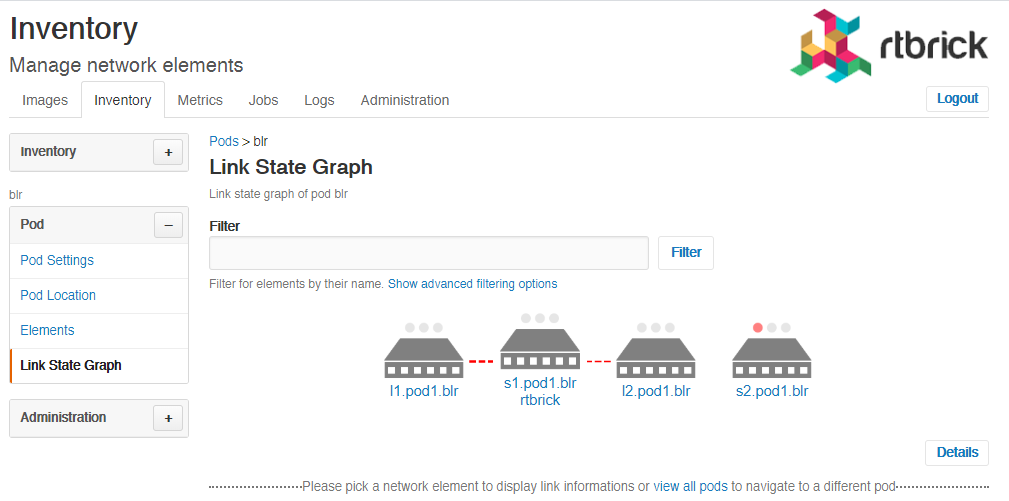
Click Link State Graph in the left navigation pane. The Link State Graph page appears.
-
On the Link State Graph page, select a network element to display link information.
-
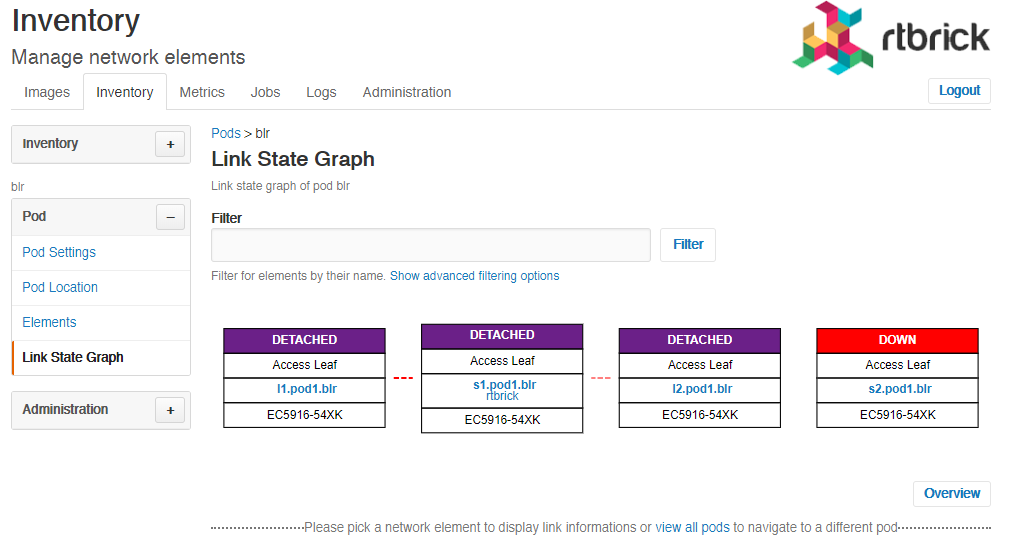
Click Details to view the detailed information of network elements.
Viewing Pod Topology
The topology view provides the following functionalities:
-
Visualizes the Pod link-state graph
-
Visualizes connected Pods
-
Provides quick access to most relevant information
-
Alerts
-
Events
-
Established links
-
To view the Pod topology
-
Click the Inventory tab. The list of Pods appear.
-
In the Pods group box, click the Pod that you want to view. The Pod Settings page appears.
-
Click Link State Graph in the left navigation pane. The Link State Graph page appears.
-
Click the view all pods link that is displayed along the bottom of the page. The Topology page appears.

The Topology page displays the overview of the Pod topology in a graphical interface along with a table that shows the list of Pods deployed in the network.
Managing Elements
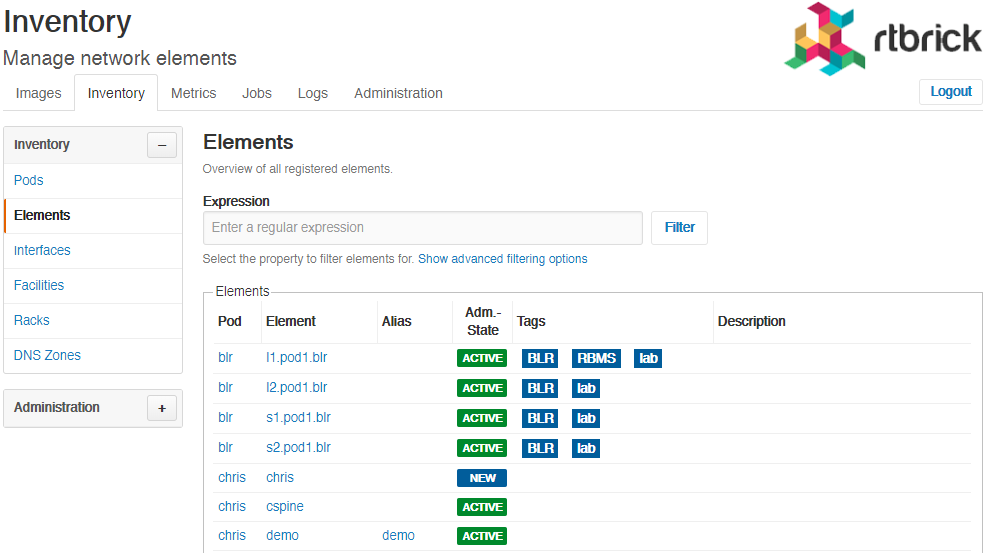
To view the list of all registered elements
-
Click the Inventory tab, and then click Elements in the left navigation pane. The list of registered elements appear.
Assigning roles to elements
-
Click the Inventory tab, and then click Elements in the left navigation pane. The list of registered elements appear.
-
Click the name of the element that you want view.
-
In the Element Role box, select the role you want to use. The following roles are available:
-
Access Leaf- Access leaf fabric switch
-
Border Leaf - Border leaf fabric switch
-
Spine - Spine fabric switch
-
Viewing Physical Interfaces
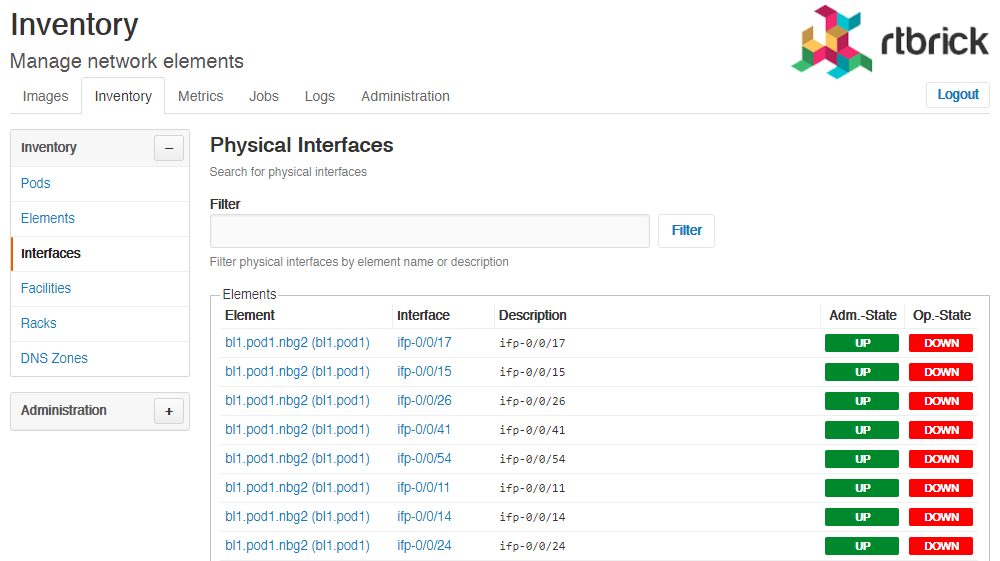
The physical interface summary shows the information of a physical interface and its logical interfaces. The view might be augmented with telemetry data (for example, current interface utilization, log messages).
To view the list of physical interfaces
-
Click the Inventory tab.
-
In the left navigation pane, click Interfaces. The Physical Interfaces page appears.
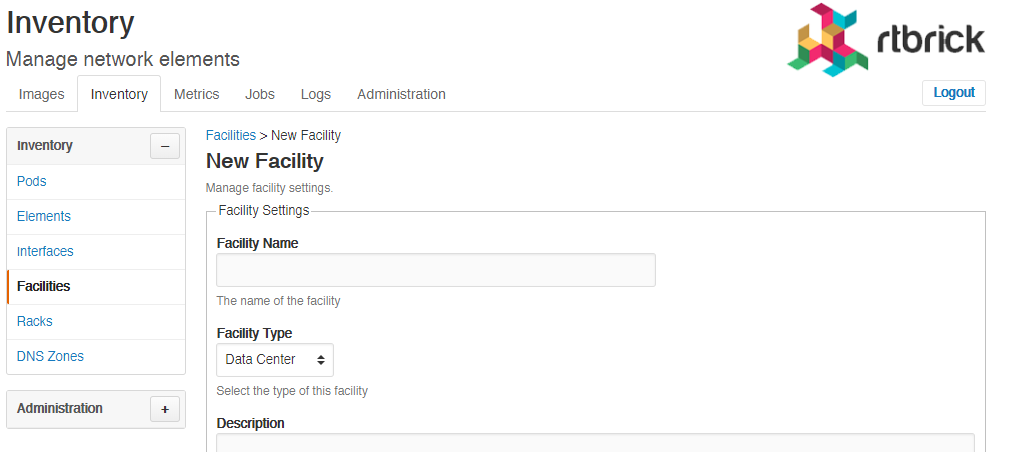
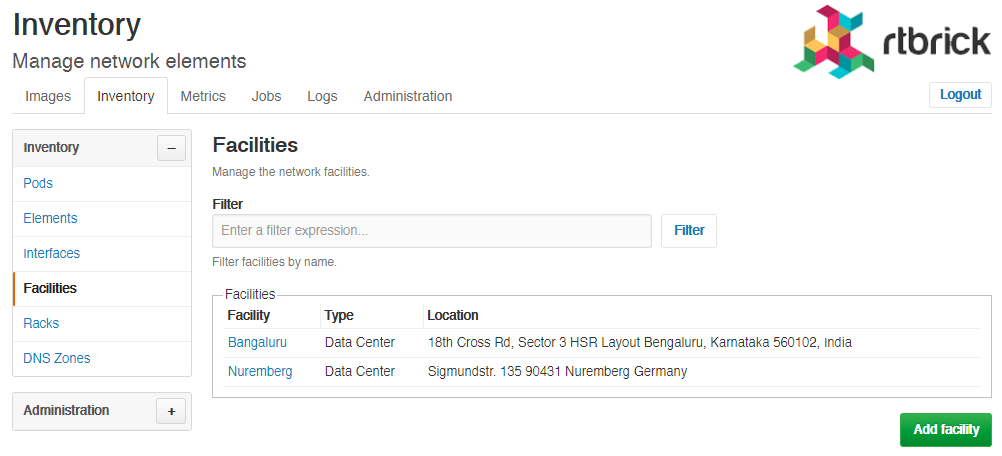
Viewing list of facilities
To view the list of facilities
-
Click the Inventory tab.
-
In the left navigation pane, click Facilities. The list of available facilities appear.
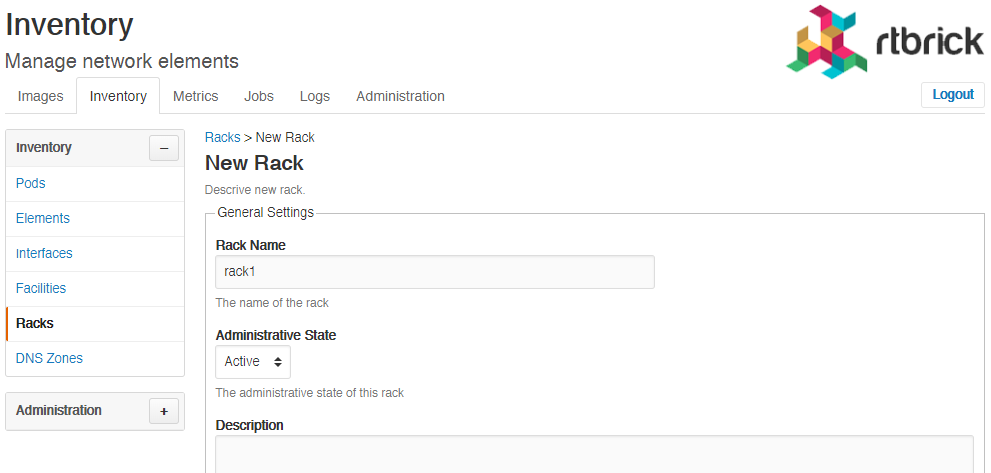
Managing Racks
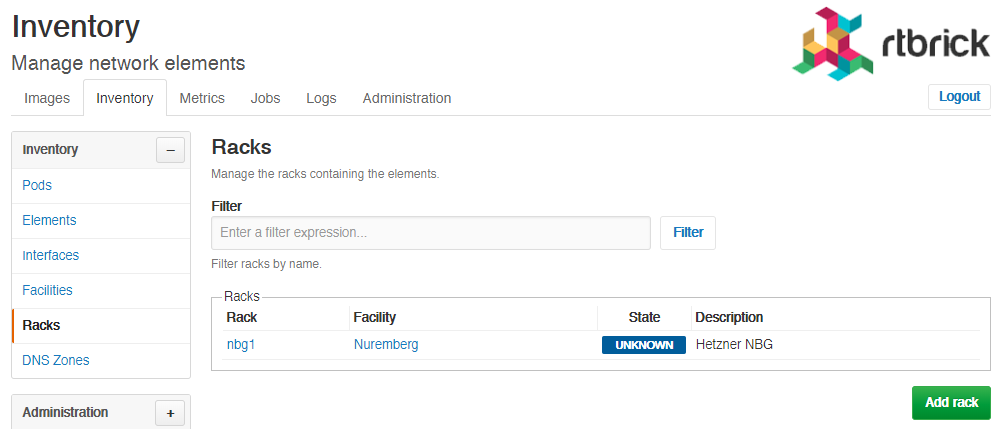
To view the list of racks
-
Click the Inventory tab.
-
In the left navigation pane, click Racks. The list of available racks appear.
Managing DNS Zones
To view the list of DNS zones
-
Click the Inventory tab.
-
In the left navigation pane, click DNS Zones. The list of available DNS Zones appear.
Inventory Administration
To configure the inventory administration settings in the Inventory page, click the plus sign (+) next to Administration.
Managing element platforms
To list down the known hardware platforms
-
Click the Inventory tab.
-
click the plus sign (+) next to Administration.
-
Click Platforms. The list of hardware platforms appear.
Creating element platforms
To create a hardware platform
-
Click the Inventory tab.
-
click the plus sign (+) next to Administration.
-
Click Platforms. The list of hardware platforms appear.
-
Click Add platform.
-
Specify the settings and dimensions of the hardware platform.
-
Click Save platform.
Removing element platforms
To remove an element platform
-
Click the Inventory tab.
-
Click the plus sign (+) next to Administration, and then click Platforms. The list of hardware platforms appear.
-
Click the name of the element platform that you want delete. The Platform Settings page displays the settings of the element platform.
-
Click Remove.
Managing Element Roles
To list down the existing element roles
-
Click the Inventory tab.
-
click the plus sign (+) next to Administration.
-
Click Roles. The list of existing element roles appear.
Creating Element Roles
To create an element role
-
Click the Inventory tab.
-
click the plus sign (+) next to Administration. The list of existing element roles appear.
-
Click Roles. The list of existing element roles appear.
-
Click Add role
-
Specify the role settings.
-
Click Save role.
Removing Element Roles
To remove an element role
-
Click the Inventory tab.
-
click the plus sign (+) next to Administration. The list of existing element roles appear.
-
Click Roles. The list of existing element roles appear.
-
Click the name of the element role that you want delete. The next page displays the settings of the element role.
-
Click Remove role.
Managing Templates
To list down the existing templates
-
Click the Inventory tab.
-
click the plus sign (+) next to Administration.
-
Click Templates. The list of existing element templates appear.
Creating Templates
To create a template
-
Click the Inventory tab.
-
click the plus sign (+) next to Administration. The list of existing element templates appear.
-
Click Add templates
-
Specify the template settings such as template name and description.
-
Click Save template.
Removing Templates
To remove a template
-
Click the Inventory tab.
-
click the plus sign (+) next to Administration. The list of existing element templates appear.
-
Click Templates. The list of existing element templates appear.
-
Click the name of the template that you want delete. The next page displays the settings of the template.
-
Click Remove template.
